Are you someone who recently started wearing a lace front wig without glue but is having trouble fixing and blending it on your hairline perfectly? Melting lace wigs without glue, all while making them look natural, can be challenging. However, it does not mean that it is impossible.
With the right products and steps, you can quickly saturate the wig in a way that it sticks to your scalp, making it seem melted into your hairline. If you want to know what these products and steps are, we have covered you in this ultimate guide below.
Simple Tips to Melt Lace Wig Without Glue
Here are all the simple steps that you need to follow when trying to melt a lace wig without glue on your head:
1. Positioning your Wig
The first step to melt lace wig without glue would be to position your wig. Here is everything that you need to do:
· Use a Wig Cap as a Layer Between Your Scalp and the Wig
You can rely on a wig cap to completely cover your natural hair, offering ideal conditions for the wigs to blend in. Most wigs feature built-in wig caps. If you are going to wear one, ensure to line up its edges just behind the hairline.
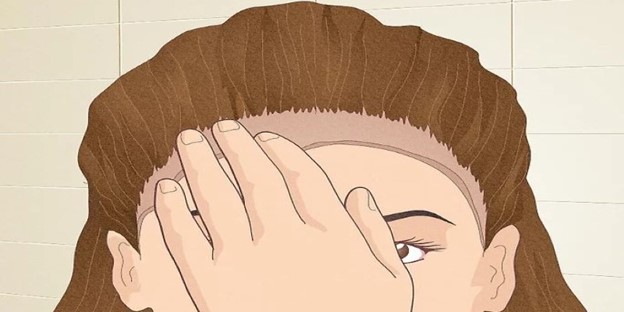
· Position your Wig for Accurate Hairline
It is essential to position your wig to achieve an accurate hairline. Start by pulling the lace over your forehead, getting the hairline in position. Now, check the position from all sides to ensure that it looks natural.
· Use a Freeze Spray Along the Hairline
Now, hold onto the position you have maintained, lift the lace front, and coat the hairline with a freeze spray. Ensure to spray it close to your scalp, so you don’t get it all over your forehead. The freeze spray can be bought from a local drugstore and might feel a little cold when sprayed.
· Blow-Dry your Hairline to Secure the Wig
Now, take a blow dryer, adjust it on low to medium heat, and then move it gradually over the wig’s hairline. Then, dry the lace when pressing it in a downward motion onto the freeze spray. This will create adhesion between the freeze spray and the lace.
2. Cutting and Melting the Lace
Once you have correctly positioned the wig, it will be time to melt the lace. Here is what you need to do:
· Wrap a Wax Strip Around your Hairline and Leave it on for 10 Minutes.
A wax strip is like a thin, stretchy crepe-like strip of paper mainly to protect the hair an secure the wig while the lace melts into your hairline.
To use a wax strip, place it so that the middle covers the hairline on your scalp. Then, secure it by tying it at the back of your neck.
· Remove Wax Strip to Reveal the Remaining Lace and Hairline
When ready, take a pair of scissors, start cutting through the wax strip. When you have cut enough of the wax strip, gently pull the lace upward to ensure that the wig’s hairline has started sticking to the scalp.
· Trim Away the Extra Lace with a Pair of Scissors
Move your scissors in a zigzag pattern when cutting as close to your hairline as you can. The zigzag pattern helps create a more natural-looking hairline than a straight cut generally does. Now, cut away any excess lace along your hairline.
We understand that there might be tiny sections of lace sticking out, which you may not be able to access, but you don’t have to worry about it, as the next step will take care of those.
· Use the Pin-Tail Comb’s to Apply Gel Along the Lace Edges
Take a pin-tail comb and put some hair gel on it. Now, press the gel down on the end of your wig’s hairline to tone down the tiny fragments of lace that were left behind.
Repeat the same process through the entire hairline and reapply the gel to the comb when needed. However, it is essential only to use a small amount of gel. This will help ensure that the gel will not be too visible when you are done flattening the edges against your scalp.
· Dry the Gel with a Hairdryer
When you have melted all of your lace, set your hairdryer again on low to medium heat and run it over your hairline. Check if the gel is still sticky and keep on running the dryer until the gel gives off a dry touch.
3. Final Touches
It will now be time to put some final touches to finish off the look. Here is what you need to do:
· Clean the Excess Gel with a Dry Towel
Take a clean, wet towel, and using its corner, rub away any dried gel that might be visible on your hairline. Make sure that you brush the towel in a downward motion, away from your hairline, to ensure that you do not damage your wig. The cleaning aspect might differ from gel to gel. At the same time, clear gels might be easier to clean, while the white ones may take some time to completely wipe off.
· Apply Makeup Along with Your Hairline So It Blends with your Skin Tone.
If your lace color perfectly matches your skin tone, you can skip this step. However, if the lace is of a different shade, rely on your makeup to match your hairline more to your skin tone more seamlessly. What should you do? Well, take a bit of powder and foundation and carefully blend it into your hairline.
Where Can You Find the Best Lace Wigs Online?
If you are searching for some high-quality wigs to wear on an everyday basis but cannot find a reliable place for them, then hear us out. Hermosa Hair is an online wig manufacturer that has been operating in the business for years.
The company provides high-quality and exceptional wigs that work well for all skin colors and hair types. So, whether you are a black woman who is finding it difficult to get a hair wig for their hair type or a woman of any other skin tone and culture, this company has got you covered.
Wrapping Up!
Are you someone who recently started wearing lace wigs and wants to know how you can melt lace wigs without glue quickly? We hope this guide was helpful for you. If you are in search of some high-quality wigs for everyday and formal uses, then we suggest you check out Hermosa Hair for sure.


Be First to Comment